

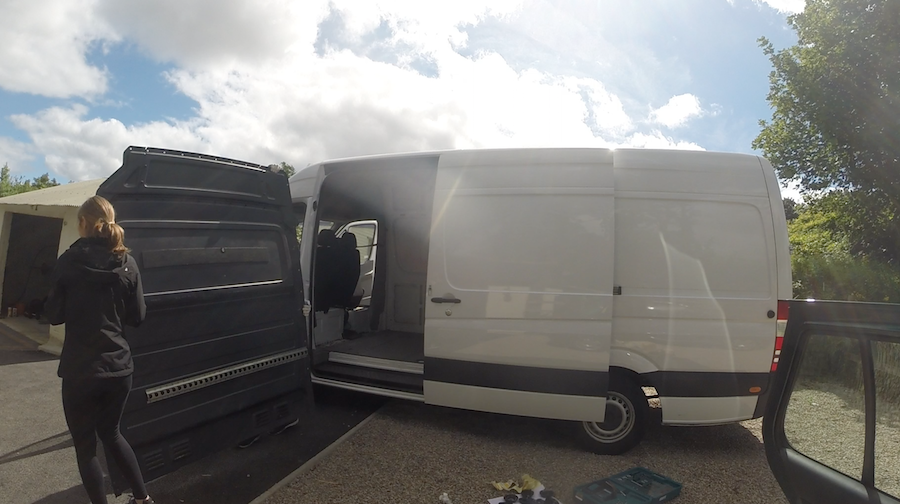
The first post in our van conversion series is getting our new home ready for the insulation & then all the furniture we’re putting inside.
If you get a Sprinter brand new or used it’s highly likely they’re be ply lining on the walls of the van and a large metal bulkhead. The later of which was a bit of a pain. Before this whole ordeal I’d bought myself a very nice Matika drill set which had 101 accessories and what I presumed everything i’d need to get panels out of a van. Nope in sprinters the floor and bulkhead require a T45 hex head which will only fit on a ratchet.
Tools needed
- Cordless screwdriver
- Ratchet with T45 size head
- Acetone
- Cloths
- Rust remover
- Metal rust protection paint
How long does it take?
It took us 6 hours to do the complete job, we did spend around a couple hours getting out a single screw that had been rusted in which didn’t help so if things had gone smoothly this would be more like 3 hours.
Step 1) Remove Plywood
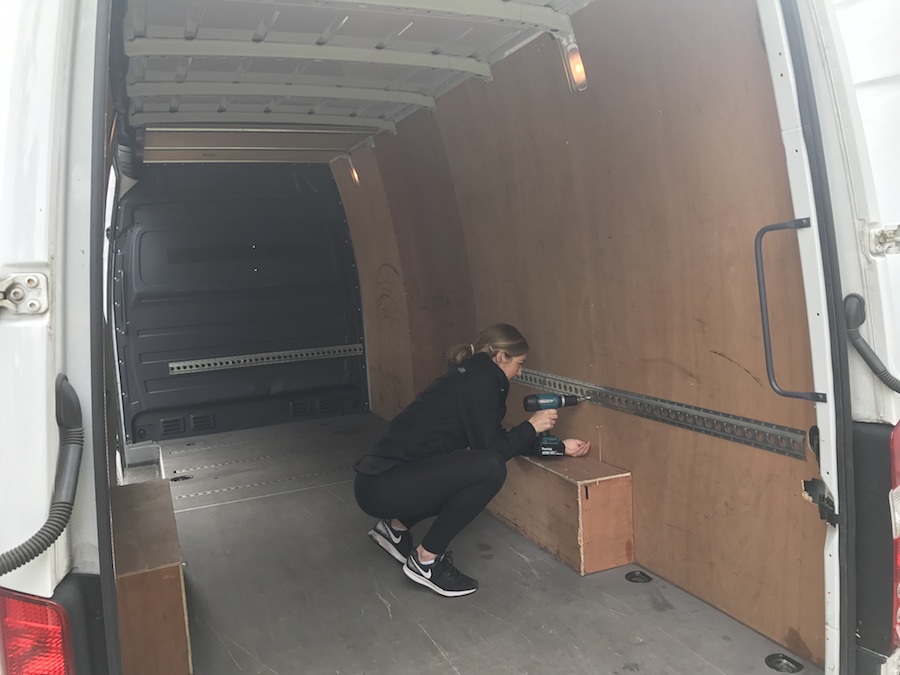
This is where the need for a cordless drill became clear, across 4.3m in length of internal wall there are a lot of screws holding up those panels. Unscrew everything and disassemble the walls. A new sprinter van ply lining costs around £200, so put this up on gumtree or craigslist and make sure you sell it.
If you come across a screw that is particularly difficult to remove, do not try more than twice and wear away the grip within the head. We found that it was best to leave 4 supporting screws in each corner and then come back to troublesome screws and put a rubber band over the screw head & manually unscrew.

Step 2) Remove the bulkhead
The bulkhead is supported by bolts with a t45 head all away around as well as some screws. This was actually the easiest part of the removal but having to go to get the ratchet made it unnecessarily long.
Step 3) Get Cleaning!
This will without doubt be the messiest part of your van.Underneath the floor aggregates all kinds of nasty stuff. We used a combination of cleaners but the best tool for the job is some soapy water and acetone to get rid of all the grime.
There we are, now you should have a lovely clean blank canvas!